Pictures of My Pond
A  symbol marks the newest pictures.


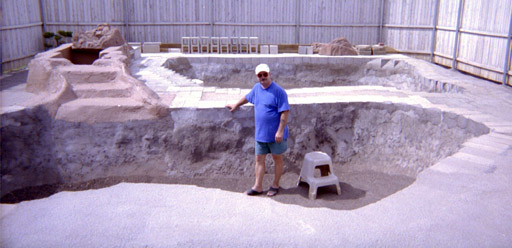
- My husband Mike is standing in the Fish Pond. You will notice that the sides have been covered with a thin layer of cement
in order to smooth the rough limestone and caliche.
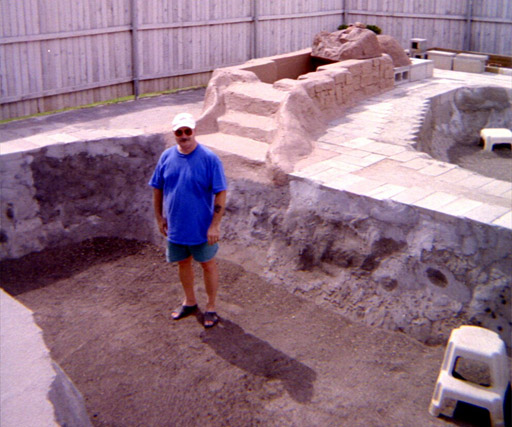
- Now Mike is standing in front of the waterfall. You will notice that the walkway and the edges of the ponds
are made of cinder blocks. All the surface of the backyard has been covered in
cement. The Headwater Pond and the waterfall were made of cinder blocks. The
waterfall has three "steps" and "sides" in order to minimize water loss.
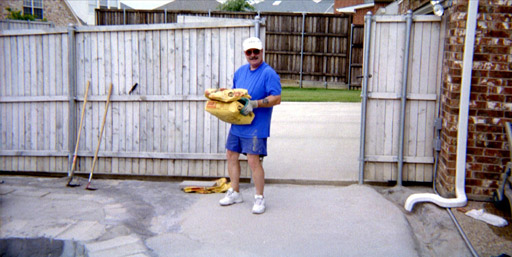
- My poor husband is carrying a bag of cement. On the right side of the picture, you can see the white
downspout which carries rain water to the French Drain located at the edge of
the patio. Additional French Drains run down the fence line in order to carry the
rain water to the alley.

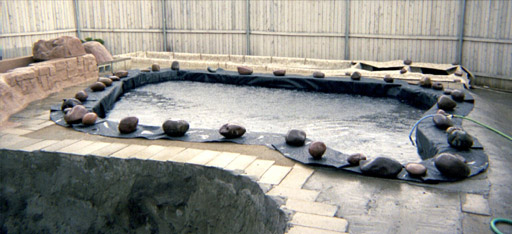
- The Waterlily Pond has been lined with Permalon. The liner has been trimmed, and the Waterlily Pond has been filled.
Behind the Waterlily Pond you can see a large white box -- the Veggie Filter. The
"white liner" draped over the right end of the box is actually vinyl floor covering.
I purchased ordinary vinyl floor covering which had a pebble pattern. I painted the
back of the floor covering with latex paint. I covered the edges of the Veggie Filter
with the floor covering.
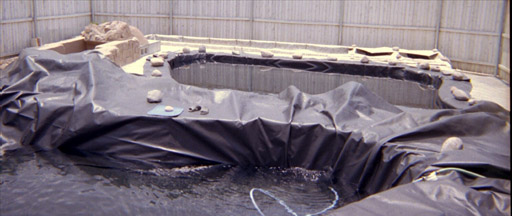
- You can see the Permalon liner has been placed in the Fish Pond. The Fish Pond is being filled. The liner has not yet been trimmed.
You will notice that the liner is large enough to extend up the Waterfall to the Headwater
Pond.
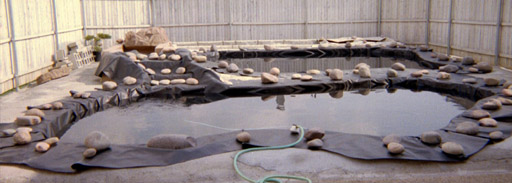
- All the Permalon liners have been installed -- the Veggie Filter, the Waterlily Pond, the Fish Pond, and the Headwater Pond.
The liner which was used for the Headwater Pond extends down the Waterfall and into
the Fish Pond. The Waterfall liner also extends over the "sides" of the Waterfall.
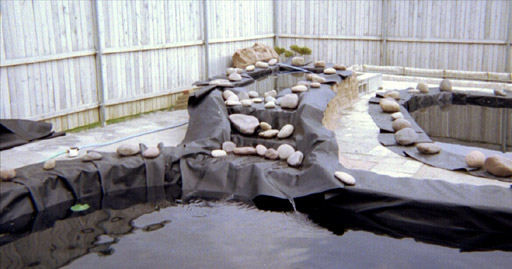
- The Permalon liner on the waterfall has been trimmed. You will notice that
the Permalon does not lay flat against the sides of the Waterfall. I had to lay
wet concrete over the liner in order to hold it in place. The concrete did not
adhere to the Permalon, it merely laid on top of the Permalon.

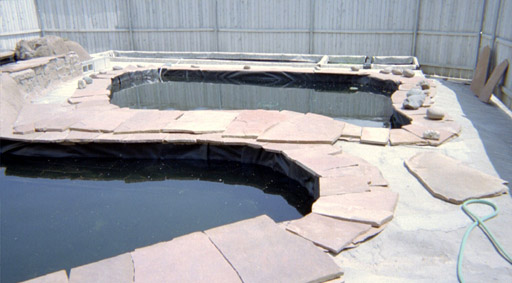
- The large flagstone pieces are being installed around the Fish Pond. The
flagstone extends over the water about four inches. The flagstone is double
and triple drystacked using no mortar to set the stones.
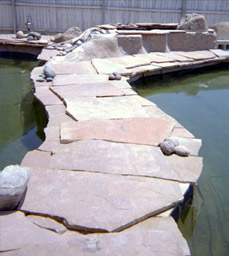
- This is the walkway between the Fish Pond and the Waterlily Pond.
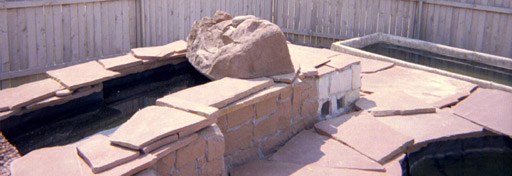
- The Headwater Pond has been completed and faux painted to match the
flagstone. A pump well has been built behind the Headwater Pond. A hollow
Spring Rock has been placed at the far end of the Headwater Pond. On the
right side of the picture you can see the end of the Veggie Filter.

- The entire Headwater complex has been completed and painted to match
the flagstone. The pump well is at the right end of the structure. The
square holes were left so that plumbing pipes and electrical wires could
be routed into the pump well.
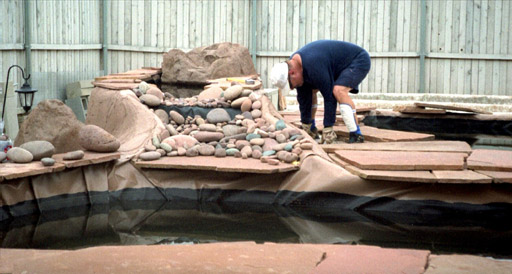
- Rocks were used to fit the Permalon to the shape of the Waterfall.
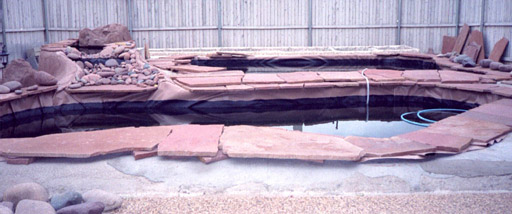
- The Permalon liner above the water line was painted the color of the
flagstone using latex paint. In this picture, the water is about 4
inches below the final water level.

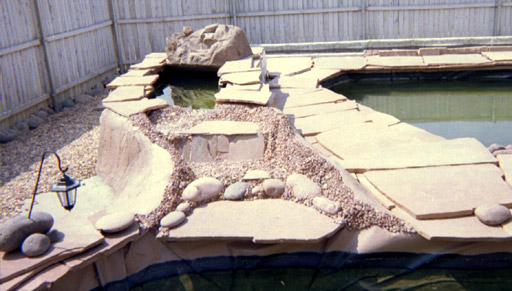
- This is a picture of the waterfall before the pumps were turned on.
You see the flagstone and rocks which were adhered to the Permalon
using clear silicone adhesive.
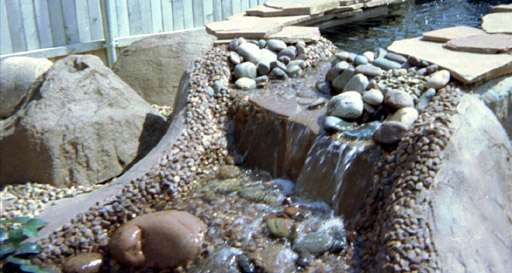
- When the pumps were turned on, over 3600 GPH falls over the waterfall.
Additional small rocks were added to the "steps" of the waterfall.
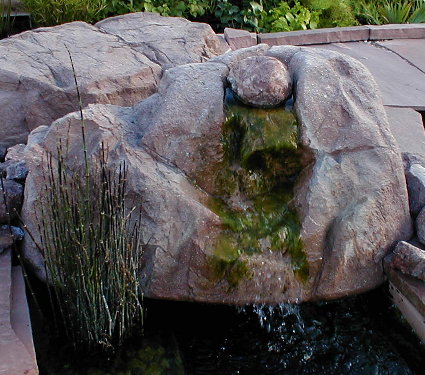
- The water begins its journey from the Spring Rock. About 900 GPH flow
from the fissure in the rock.

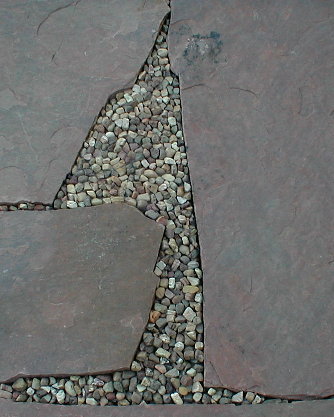
- Clear silicone adhesive was used to secure gravel in areas in the walkway.
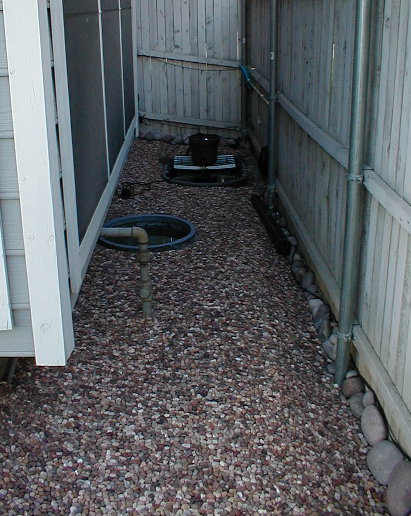
- Two quarantine tanks were installed in a narrow side yard. Clear silicone
adhesive was again used to secure the gravel.

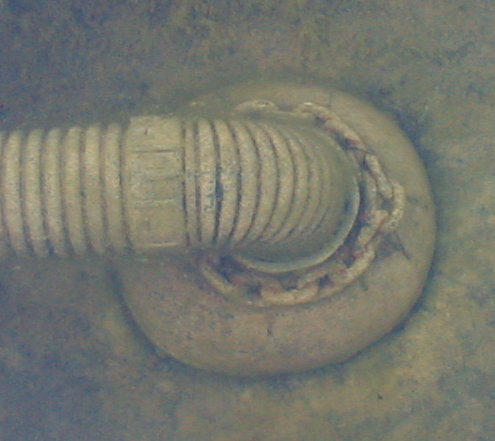
- Each large pond as two 4-inch bottom drains. Flexible drainage
pipe connects the bottom drains to rigid PVC pipe which moves the
water to the Settling Tank.
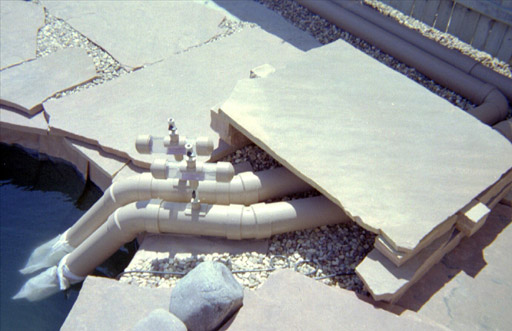
- Manual air-purge valves have been built at all the high points in the
gravity siphon runs between the ponds and the settling tank. The four-inch
PVC pipe does not go through the liner.
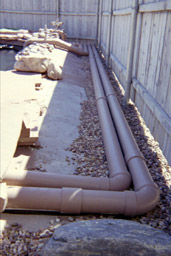
- These are the four-inch PVC pipes which connect the Fish Pond to the
settling tank.
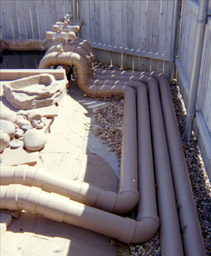
- You can see all four siphon pipes which enter the settling tank.
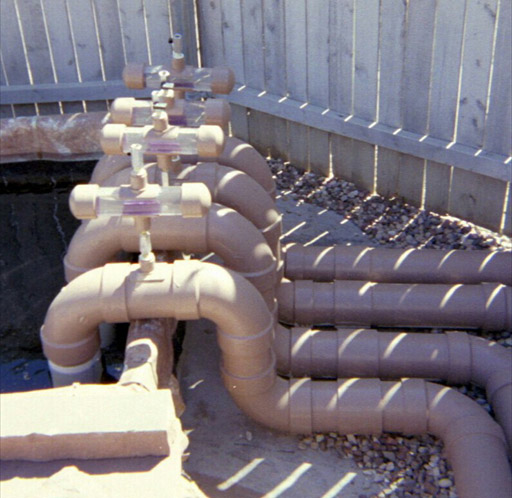
- This is a close-up view of a manual air-purge valve. The reservoir is made of clear PVC pipe which was capped at both ends. Two opposing holes were drilled in the sides of the clear pipe. A saddle tee was glued over
each hole so that small ball valves could be attached on each side. A third saddle tee
was glued over a hole drilled in the four-inch PVC pipe. The air-purge assembly was
screwed into the saddle tee on the large PVC pipe. In normal operation, the lower
ball valve is open and the top ball valve is closed. Any air in the PVC pipe will
be collected in the reservoir. In order to purge the collected air, you first close
the lower ball valve. This isolates the reservoir from the large PVC pipe. Then
you open the upper ball valve, and fill the reservoir with water. Finally, you close
the upper ball valve, and then open the lower ball valve.

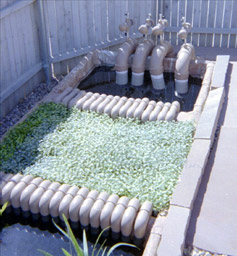
- You are looking at the first part of the filtration complex. The water
enters the Settling Tank by means of gravity siphons. The water then moves
into the mechanical/biological filtration area by a second set of short
siphons. The filtration area is covered with a plastic mat which is very easy
to remove for maintenance of the filters.
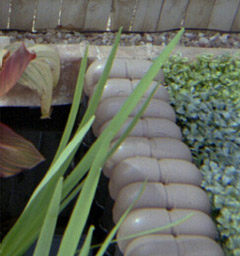
- Finally, the water moves into the Veggie Filter by means of a third set of
short siphons.

- You can see the Veggie Filter on the left and the plastic cover for the
filtration area on the right. The pump intakes are on the far side of the
Veggie Filter.
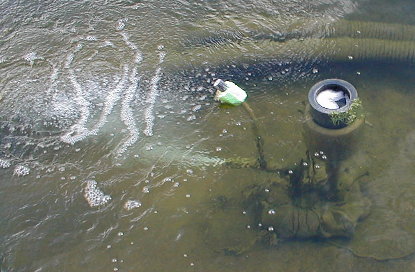
- Each large pond has a submerged pump which pulls surface water
through a No-Nitch skimmer. The output of the pump is used to power
an Oxymax venturi.

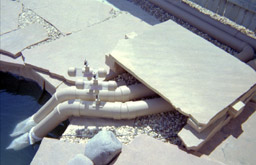
- The manual air-purge valves gave the watergarden a definite industrial feel.
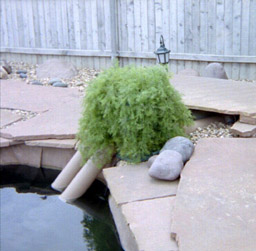
- I decided to cover the valves with Asparagus Fern.
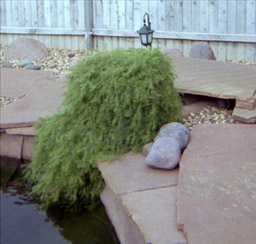
- As the Asparagus Fern "grew", it completely covered the valves and the
pipes. Algae grows on the ends which trail into the water. Since I wanted
to be able to operate the valves very easily, the Asparagus Fern was
actually plastic plants which were attached to a green Rubbermaid container.

- The pipes going into the Settling Tank were quite noticeable.
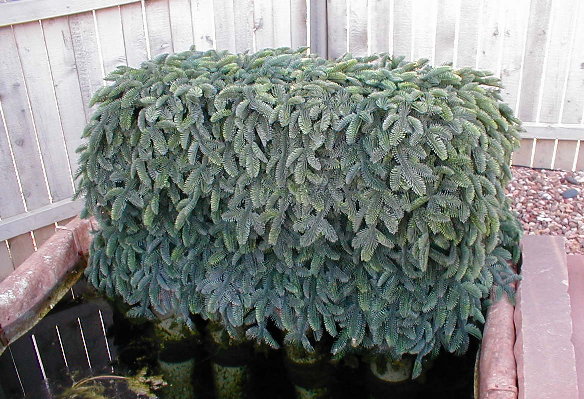
- I constructed a juniper bush to cover the pipes and air-purge valves.
If you look carefully, you can see the vinyl floor covering on the edges
of the Settling Tank.

- The Permalon liner above the water line was painted the color of the
flagstone using latex paint. In this picture, the water is about 4 inches
below the final water level.
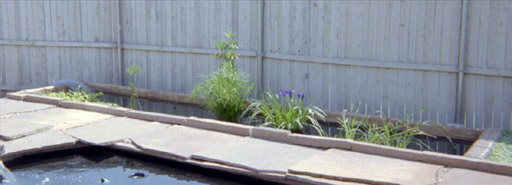
- The filtration area was built in a large wooden box lined with Permalon.
The top six inches of the Permalon were covered with vinyl floor covering.
The floor covering was painted with latex paint in order to match the flagstone.
I later replaced the vinyl floor covering with
Rock-on-a-Roll. This material can handle the tough Texas sun, and be
"tinted" with latex paint.


- The waterfall was turned on for the first time. Mike is mesmerized by a
watergarden that actually works without any problems. The No-Nitch skimmer
and aerator can be seen just to the left of Mike's left knee.

- The waterfall looks much more natural with the plants and the algae.

- A bench was added on the large viewing area so that you can watch the
waterfall and feed the fish.


- A few of my straight-tailed goldfish decided to pose for a group photo.
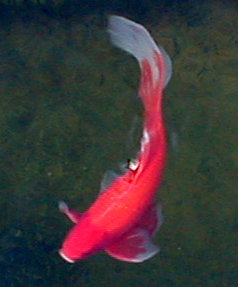
- The biggest boy in the Fish Pond is Hoover. As a tiny fish, he could suck
up more food than any other fish in the tank. I remarked that "I wished my
Hoover vacuum had as good a suction as this little fish". And the name stuck.
Hoover is very inquisitive. One afternoon he decided to find out what was
hidden in the blue running shorts I always wear while in the pond. That
afternoon I discovered that Hoover was going to be a hit with the ladies.
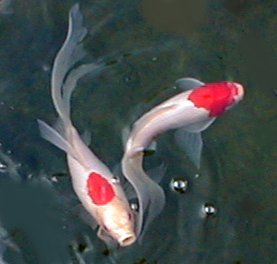
- Spot and Lucy are two of the ladies who live in the Fish Pond.
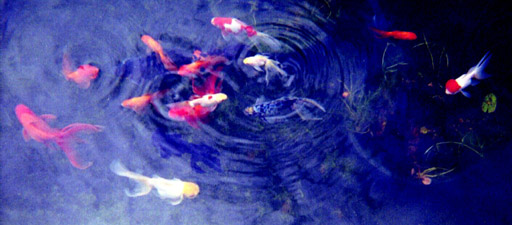
- Some of my fantails also decided to pose.

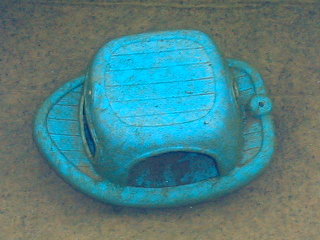
- This Fish Boat is at the bottom of the Fish Pond under 32 inches of water.
I purchased a plastic cat house, and enlarged the holes. Then I cut a few
additional holes, and protected the openings with plastic edging. The fish
love to peek out through the holes in the boat. Lucy, a red-headed sarassa,
has adopted it as HER boat.

- The Fish House was the first "fish toy" in the large pond. This was
designed as a plastic house for a cat. My goldfish feel very safe in this
"house".
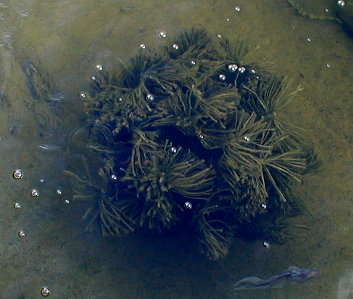
- The Spawning Bush is a popular hangout for any fish who has an itch
that needs to be scratched. I built this bush out of black "spawning rope"
which can be purchased at Aquatic Ecosystems. A lush growth of algae makes
the Spawning Bush look like a real plant.
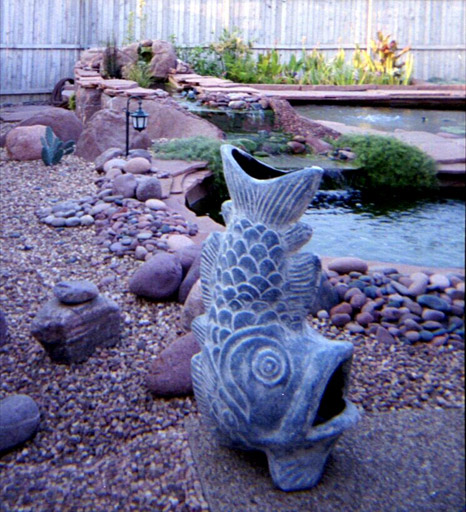
- The Fish God guards the watergarden.
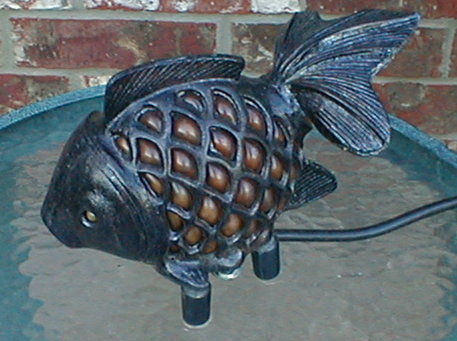
- My husband Mike built this goldfish light as a surprise gift for Mother's
Day.
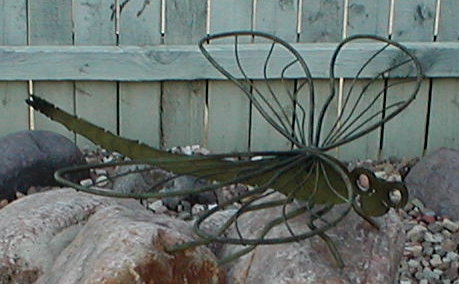
- A Jurassic Dragonfly watches the fantails in the Waterlily Pond.
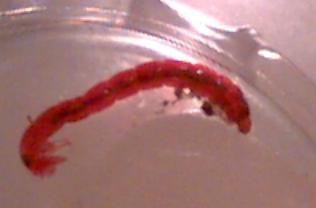
- A bloodworm is a small red worm which is often found in the filter.
The worm does not hurt the fish, and provides them with a tasty meal.

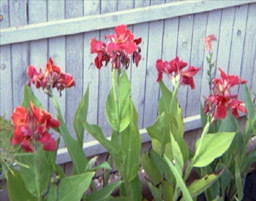
- A "terrestrial" Red Canna is growing in the veggie filter.
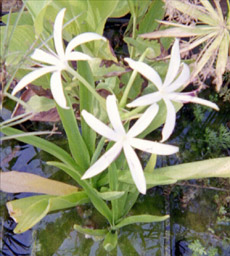
- Spider Lily Flowers
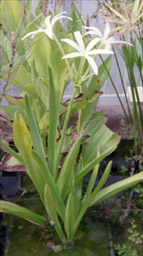
- Spider Lily Plant
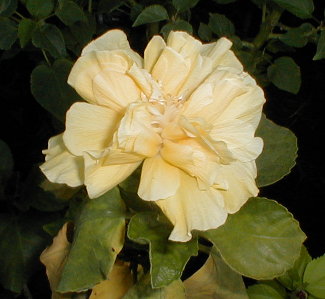
- A Butterball Tropical Hibiscus has been planted in the Veggie Filter.
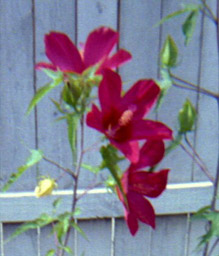
- The Swamp Hibiscus is growing very rapidly in the Veggie Filter. The
plant is sitting in a black mesh basket filled with lava rock. Its roots
are over 3 feet long.
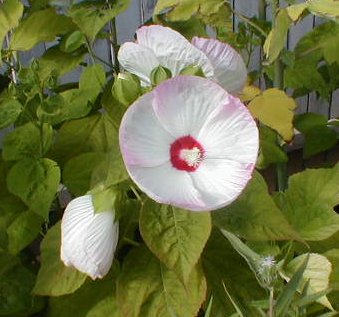
- A "standard" Pink-and-white Hibiscus was stripped of dirt, and planted
in the Veggie Filter.
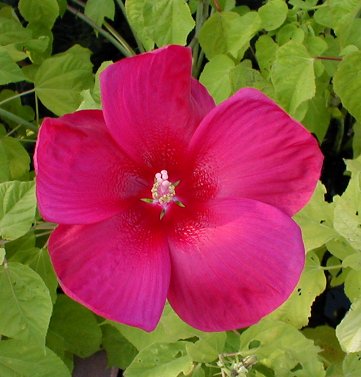
- A Hot Pink Hibiscus also grows very well in the Veggie Filter.
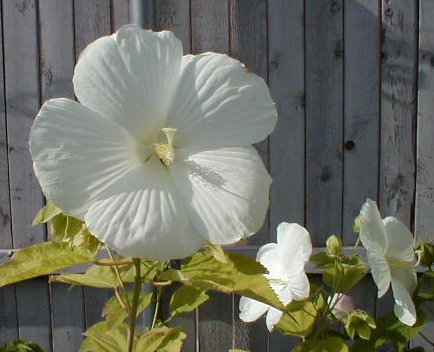
- A White Hibiscus is growing in the Veggie Filter. The background is a
standard wooden fence.
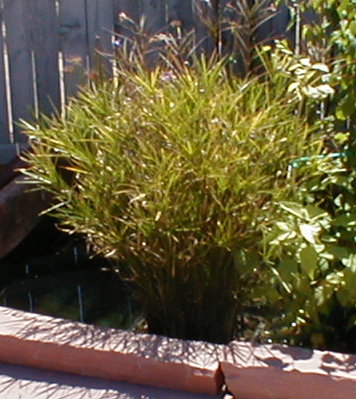
- This miniature Umbrella Palm is growing in the Veggie Filter. This plant
has survived full Texas sun and freezing weather.
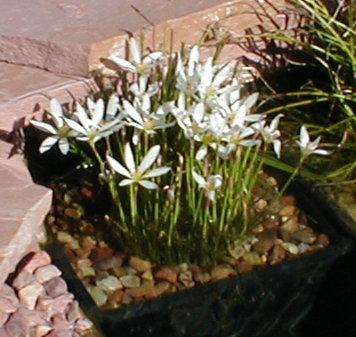
- White Rain Lilies are blooming in the Headwater Pond.

 Bonnie's Links
created by Bonnie Lee Hill,
 bonniehill@verizon.net
 last modified on June 27, 2008
URL: http://mysite.verizon.net/bonniehill/ponds/pages/myphotos.html


 symbol marks the newest pictures.
 Return to Water Gardens
 Foundation


 Top of Page
 Liner
Liner


 Top of Page
 Flagstone


 Top of Page
 Waterfall


 Top of Page
 Gravel

 Top of Page
 Plumbing


 Top of Page
 Filtration


 Top of Page
 Camouflage


 Top of Page
 Finishing Touches


 Top of Page
 My Goldfish


 Top of Page
 Miscellaneous Pictures


 Top of Page
 Plants


 Top of Page
 Return to Water Gardens
 Bonnie's Links
 bonniehill@verizon.net
 last modified on June 27, 2008